Practical guide
How to draw a floor plan from your own measurements
A floor plan is a top-down description of a space. For furniture planning, it needs dependable room dimensions, the positions of openings and a clear connection between rooms. Start with a measured sketch, build a simple digital version, then add detail only after the main geometry makes sense.
Free: one project under 50 m². No installation needed.
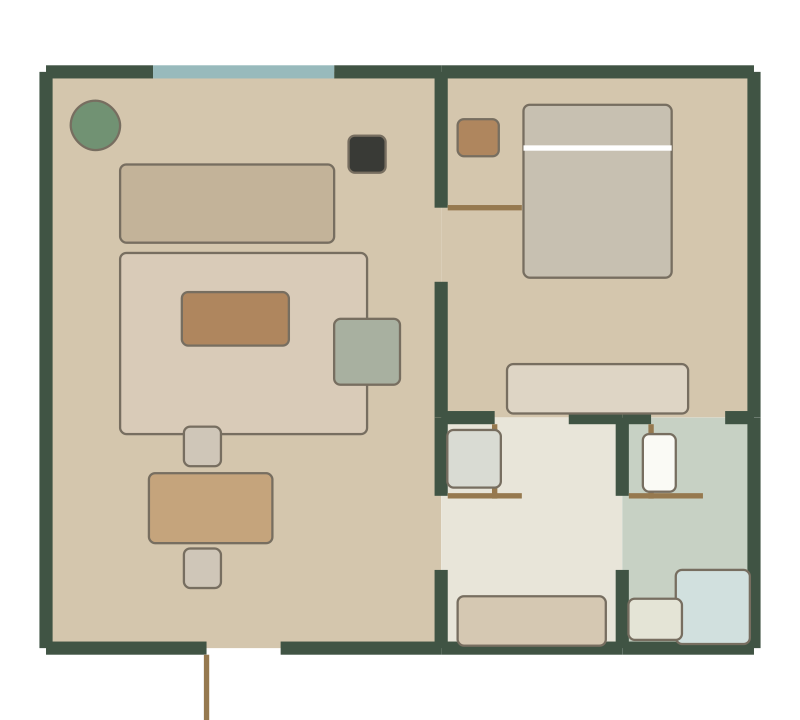
1. Make a measurement sketch before opening the editor
Sketch the room outline on paper and label each wall in a consistent direction around the room. Measure inside wall lengths, then note the distance from a corner to each door or window and the width of that opening. Mark fixed features that could affect furniture placement.
Keep all measurements in one unit while recording them. The room-geometry dialog uses metres: 425 centimetres becomes 4.25 metres, and 900 millimetres becomes 0.90 metres. Furniture dimensions in the editor use millimetres, so a 90-centimetre-wide item is entered as 900. Follow the unit beside each field. Label uncertain values so you know which dimensions need another visit with the tape measure.
2. Build the room boundaries and connections
Draw the main rooms and resize them to match the sketch. Work on their relative positions before furnishing. For an apartment, follow the route from the entrance through the shared spaces and into each bedroom to check that the digital arrangement matches the real one.
Create the main room shapes
Start with the simplest room and use it as a reference for adjoining spaces. Enter the dimensions you recorded instead of judging scale by appearance.
Add walls and openings
Place doors and windows using their measured offsets from the corners. Check which spaces each door connects.
Resolve mismatches early
If rooms do not line up, recheck the measurements and what each one includes. Avoid changing a reliable dimension merely to make the picture look tidy.
3. Place furniture and test the layout
Add the largest furniture first, such as the bed, sofa and table. Drag and rotate each piece while keeping the doors, windows and walking routes visible. Compare furniture dimensions with the actual pieces you own or are considering.
A piece can fit inside a room outline and still be inconvenient to use. Look at the space needed to pull out a dining chair, stand beside a bed or reach storage. Adjust the layout around these activities before adding decorative details or changing materials.
4. Cross-check the plan and save a useful copy
Compare at least two independent dimensions with your measurement notes. Then inspect the same design in 2D, 3D and the real scene view. The plan view helps reveal misplaced boundaries; 3D helps you understand the arrangement of walls and furniture.
Export a PNG when you want a picture to compare or discuss. Export JSON to keep the plan data. Browser drafts and signed-in cloud projects support ongoing work, but a separate export is useful when preserving a particular version of a layout.
Questions before you start
Do I need an existing drawing to create a floor plan?
No. You can draw rooms manually from measurements. An existing image is optional. Check the workspace for current image import and recognition access; AI recognition needs an available configured service.
What should I do if I only know the total area?
Measure individual room dimensions and opening positions before treating the plan as accurate. Many different room shapes can have the same total area.
Can I export a PDF or DXF drawing?
Habitat exports PNG images and JSON plan data. It does not provide PDF or DXF export in this workflow.
A little planning. A better place to live.
Bring your measurements and make the first layout yours.